Introduction to Rifle Painting
Painting your airsoft rifle can significantly enhance its appearance, provide effective camouflage, and protect it from corrosion and wear. Throughout history, soldiers and outdoor enthusiasts alike have utilized various painting techniques to improve their firearms' effectiveness in the field. A well-painted rifle not only looks appealing but can also blend seamlessly into different environments, making it less visible to potential threats.
In military contexts, the practice of painting rifles dates back to World War I, when soldiers recognized the need to adapt their weaponry to the diverse landscapes they encountered. From the dense forests of Europe to the arid deserts of North Africa, different color schemes and patterns were developed to help soldiers conceal their weapons from enemy combatants. Today, this tradition continues, with modern advancements in paint technology allowing for more durable and weather-resistant finishes.

Whether you're aiming to give your firearm a fresh, personalized look or trying to break up its outline for better concealment, this guide will walk you through the process safely and effectively. We will cover the necessary materials, preparation steps, painting techniques, and post-painting care to ensure your rifle not only looks great but also maintains its functionality and integrity.
Materials You'll Need
First, gather the necessary materials. You will need rifle cleaning supplies, such as gun cleaning solvent and cloths, to ensure a clean surface for painting. For the painting process, choose spray paint specifically designed for firearms or high-heat paint. Rustoleum and Krylon paint are among some of the best gun paints you can buy, and we recommend you use one of these to paint your rifle. Additionally, gather painter's tape, stencils, gloves, and a respirator mask. Don't forget protective gear like safety goggles and a drop cloth to safeguard your workspace.

Preparation Steps
Begin by thoroughly cleaning your rifle to remove any dirt, oil, or residue. Use a gun cleaning solvent and cloths to prepare the surface. If possible, disassemble your rifle into its main components, as this will make painting easier and allow for more precision if you plan just to paint one part. Keeping your airsoft gun whole and removing any internal parts is better suited to help you paint.
Choosing Your Design
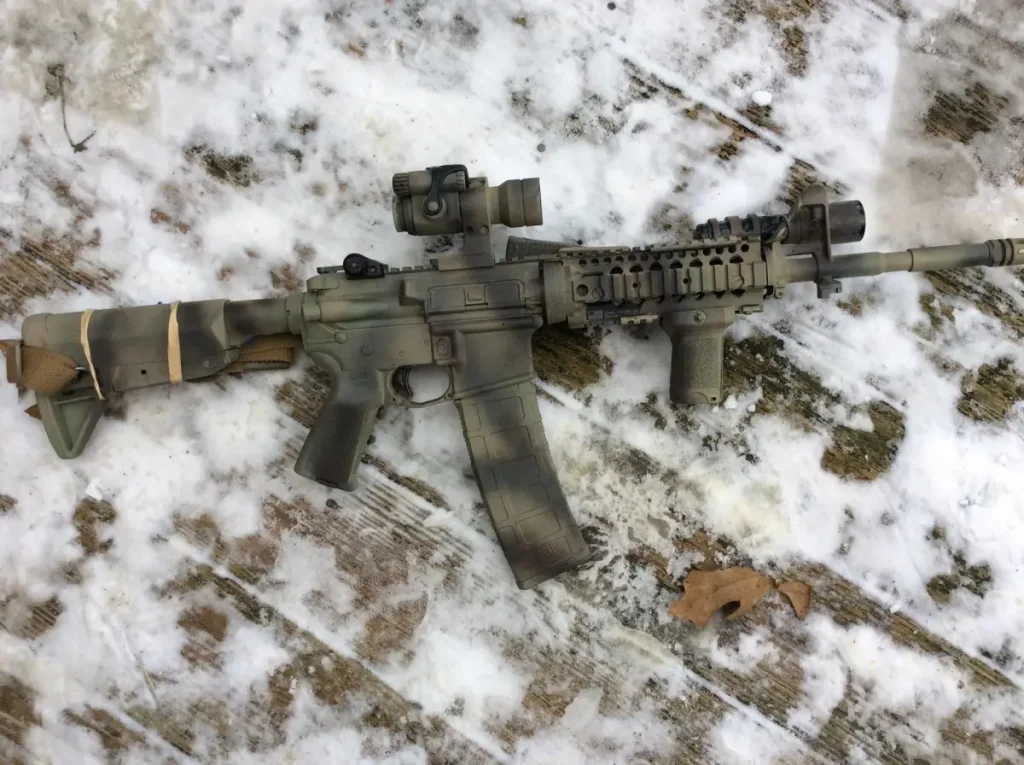
Ideally, you will have chosen a colour scheme that suits your environment or just one that looks cool. Earth tones are ideal for hunting, while brighter colors may be suitable for decorative purposes. If you want specific patterns, consider preparing or purchasing stencils. If you take a look at troops in, say, the large grasslands like the Rhodesians, they painted their FALs baby puke green and brown to blend in more, or even more modern troops in Afghanistan painted their guns a solid tan colour to help blend in more to the desert landscape. So, pick whatever is best for your build.
Masking Off Areas
Next, tape off areas of the rifle that you don’t want to paint, such as the scope, trigger, and safety selector parts (optional). This masking ensures clean lines and prevents paint buildup in sensitive areas. If you opt to use a primer, spray a light coat over the surfaces you intend to paint, as this will help the paint adhere better and enhance durability.

How to Paint Your Rifle
Now that you have gathered all the necessary materials to start painting your rifle, it's time to dive into the painting process. Before you begin, take a moment to ensure your workspace is clean and well-ventilated. This will help you work efficiently and safely. Again, prepare your rifle by cleaning it thoroughly to remove any dust, oil, or residue that could affect paint adhesion. Once your rifle is prepped and your materials are on hand, you can confidently move forward.

Application of Paint
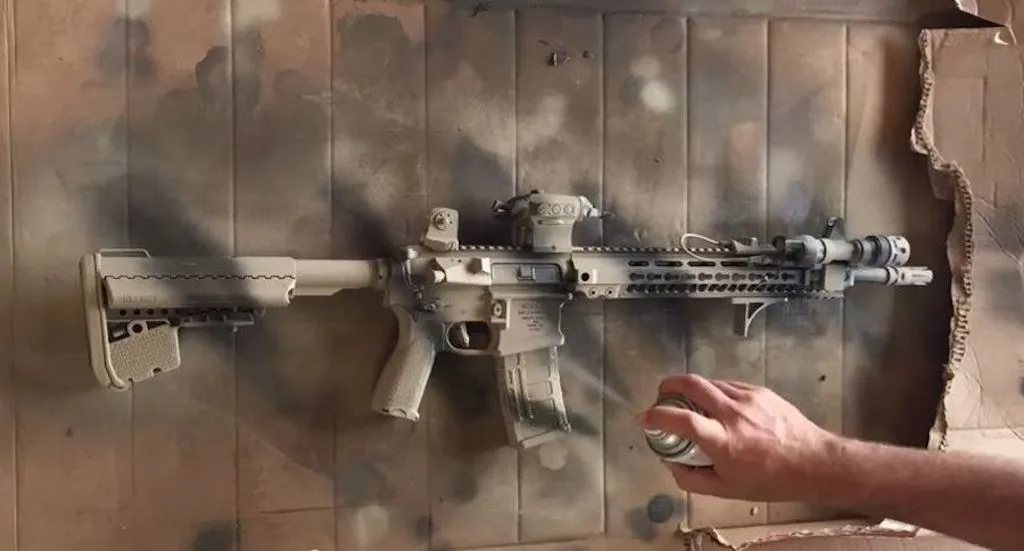
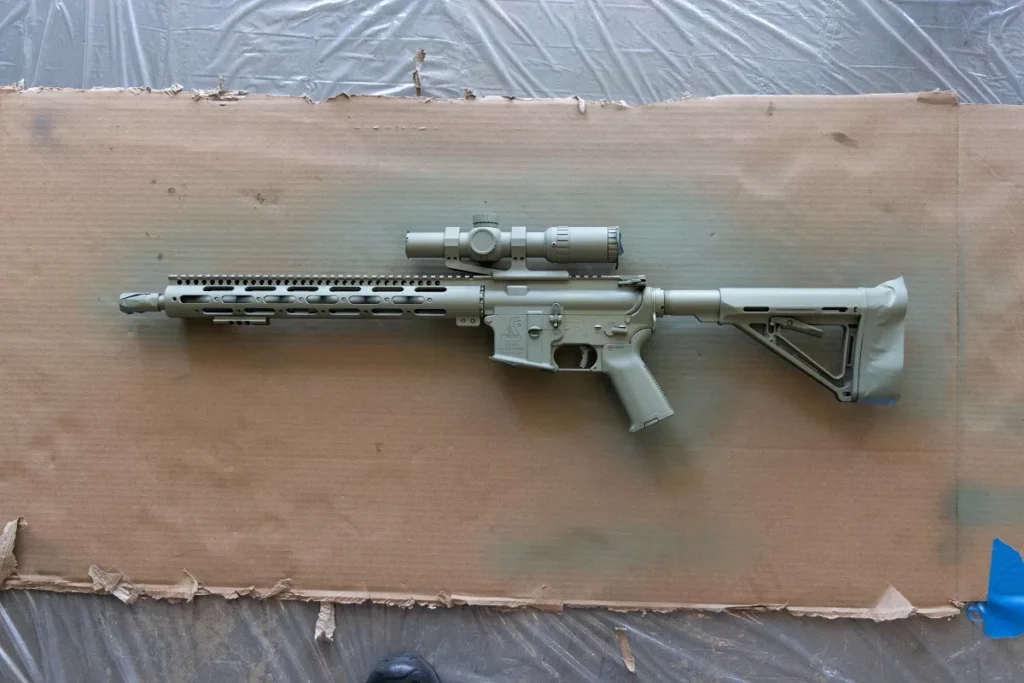
Now it’s time to apply the base coat. Depending on your setup, you can hang the rifle, lay it on cardboard on the floor, or position it on a workbench—choose what works best for your space. If you’re using several colors, start with the lightest shade and work your way to the darker ones. Regardless of your chosen color, ensure you cover the entire surface with a smooth, even layer. Maintain a distance of about 10 to 16 inches from the rifle while spraying to avoid unwanted drips and uneven patches.
If you are trying to break up the pattern of your rifle, using the edge of a ripped cardboard box as a stencil will help give it a better look. Using a stencil is also another good way to apply paint, although you have to know what you are doing, as they can be tricky to apply. Using natural vegetation, for example, leaves, sticks, or grass, is a great idea as well, and it makes the paint job look more natural.
Letting Your Gun Dry
After painting, let your rifle dry completely. Curing may take several hours or even days, depending on the paint type. Once everything is dry, carefully reassemble your rifle and inspect it for any areas that may need touch-ups.
Maintenance Tips
To maintain your newly painted rifle, keep it clean to preserve both appearance and functionality. Handle it with care to avoid scratching the paint, and don’t hesitate to repaint when necessary.
Conclusion
Painting your rifle is a rewarding project that allows you to personalize your firearm and improve its functionality. By following these steps, you can achieve a professional-looking finish while ensuring your rifle remains protected. Always prioritize safety during the painting process, and enjoy your newly customized firearm!